I am finally doing a DIY post!!!
YIPPIE~
Nope, above pic isn't what I am going to post on. LOL.
I forgot to snap some pictures while making that shirt.
HAHA. My bad.
Materials Needed:
- 1-1.5m of fabric
- Sewing machine
- Thread
- A pair of scissors
- Papers for pattern making
- Zipper
- Pins
Cutting the fabric:
- 1x Front Bodice
- 2x Back Bodice
- 2x Sleeves
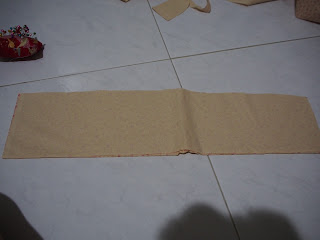
- 2x 20"by 4" rectangular pieces
- 2x 10" by 4" rectangular pieces
I basically traced out the pattern from a shirt. You can adjust the length of the blouse and the shoulder of the blouse according to your preferences. I like my blouse to have a longer sleeves. Hence I lengthen the sleeve.
Assembling the pieces:
- Sew the shoulders together.
- Attach the sleeves to the armhole.
- Sew the side seams.
- Attach zipper to the center back.
- Sew the center back.
- Create a neckline facing using the remaining fabric.
- Sew the facing to the neck line.
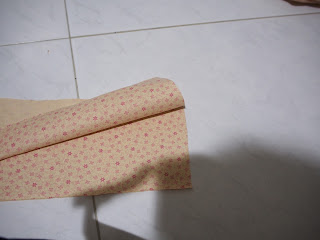
- Gathered the rectangular pieces to create ruffles.
- Attach ruffles to the raw edges of the blouse and sleeves.
- Hem the ruffles.
Pull the bobbin thread when it comes to gathering~
End product:
This basically took me less than 4 hours to finish. It is really simple. I could have completed it much earlier but sometimes, my sewing machine doesn't want to cooperate with me. :(
I am only left with one set of fabric. It is finally the time for me to purchase some fabrics for more DIYs. Meanwhile, I just finished an upcycle project. I think I am going to do some upcyling over the following weekends while I find some fabric online and wait for the fabric to arrive. Till then~


