Showing posts with label anime. Show all posts

Wednesday, January 11, 2017

DIY Hogwarts Cloak (Griffindor Version)

My Harry Potter feels are back. 

Maybe it's the season or my withdrawal syndrome from fantastic beasts movie.
I don't know but I am enjoying it. Oh, Happy 2017 my lovely readers~
Let's get started!

Materials: 
  1. 2-3m of black coloured fabric
  2. 2-3m of maroon coloured fabric
  3. Sewing machine
  4. Thread (black and maroon)
  5. A pair of scissors
  6. Ruler
  7. Large pieces of paper

Creating the pattern:
I SWEAR I AM SO USELESS. I DO NOT HAVE MANY PICTURES. I AM SO SORRY!!!
  1.  Copy from your favourite tshirt the front bodice and back bodice.
  2. Widen lengthen and widen the sides to make it more flare out.
  3. Back bodice will be on fold while the front bodice mark it X2.

 3. Create your own sleeve by copying it against the front and back bodice.


4. Roughly sketch a hoodie (use your coat or jacket as references)


Cutting the fabric:

Cut out all the patterns on both the maroon and black fabric.
You will end up with:

  1.  2 pieces of Front Bodice- Maroon
  2.  2 pieces of Front Bodice- Black
  3. 1 piece of Back Bodice- Maroon
  4. 1 piece of Back Bodice- Black
  5. 2 pieces of Sleeve- Maroon
  6. 2 pieces of Sleeve- Black
  7. 2 pieces of Hoodie- Maroon
  8. 2 pieces of Hoodie- Black


    Assembling the pieces:
    I started on the maroon pieces then the black pieces.

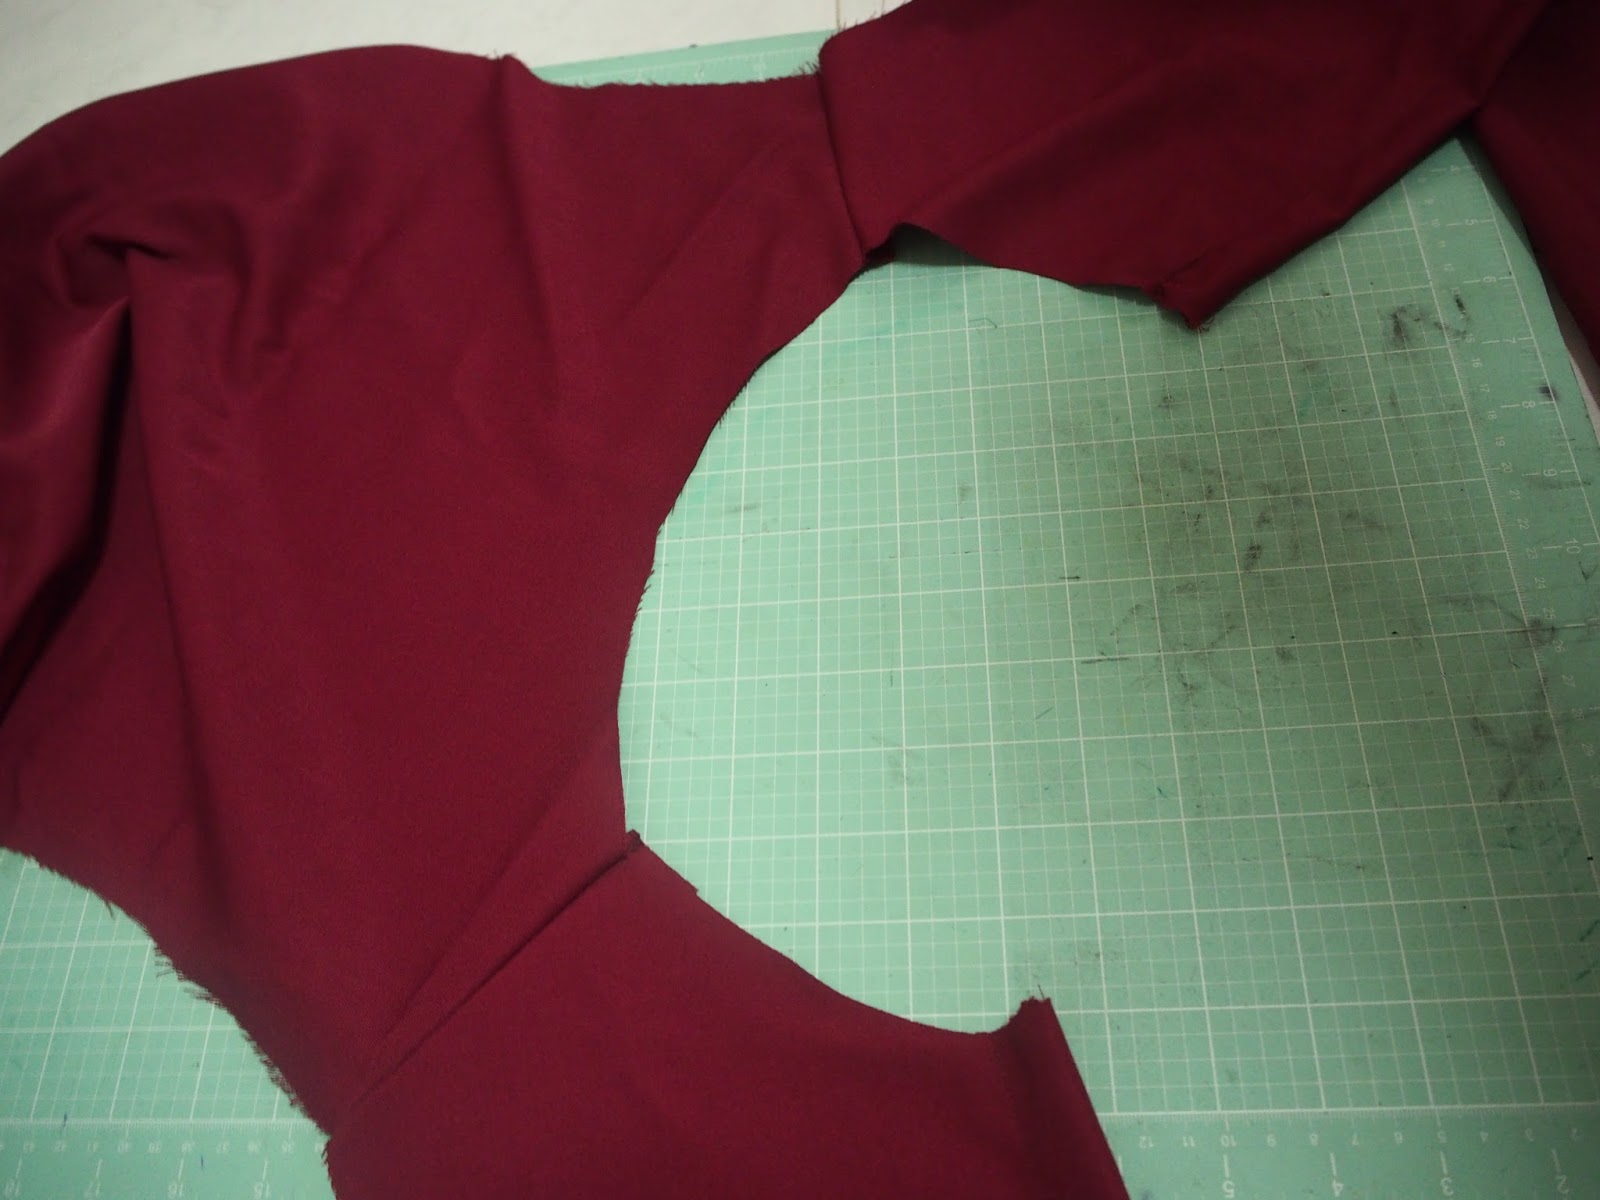
    1. Sew the shoulders together.

    2. Attach the sleeves to the armhole area.
    3. Sew the side seam.

    4. Attach the hoodie to the collar area. The final piece will be called Y.
    5. Repeat step 1-4 using the black pieces.
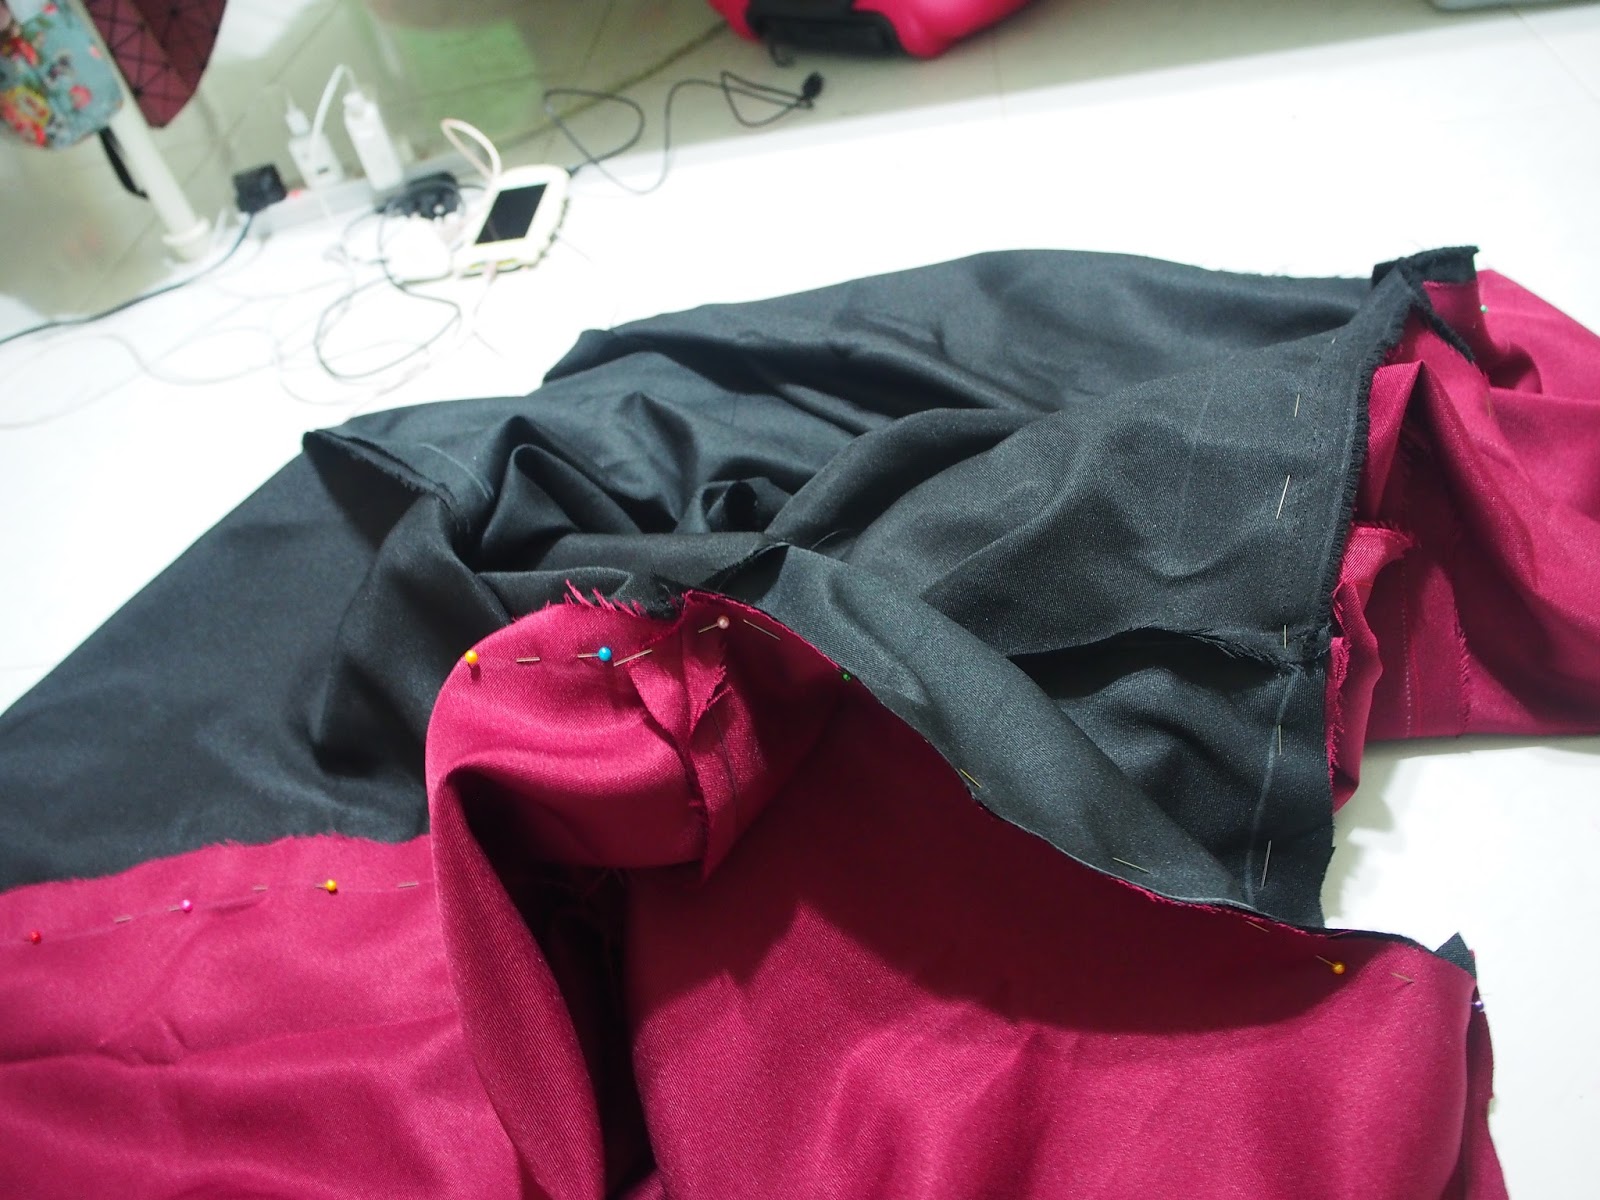
    6. Now we have to make the Y (maroon) be a lining to Y (black).
    7. Sew the Y maroon to Y (black) with right sides facing each other along the hoodie area leaving the sleeves and hemline.
    8. Turn the cloak inside out.
    9. Hem the bottom and sleeves.


    Final touch:

    Print out Griffindor logo using transfer paper or sew the embroidery of the logo to the cloak.

    End product:


    Btw have you guys watched Fantastic Beast? I find it to be the best movie of 2016. Which movie is your most favourite for 2016? Also what movie are you most looking forward to? Anyways, I hope that this post will be useful for some harry potter fans out there.
    OH, I may be posting another one if I am not feeling tired. HAHA.
    Till then~  Stay happy and healthy!!!


    Recommended Anime: Orange
    I was prepared to get myself emotional and this anime has done it.
    It is beautiful. Absolutely amazing!
    I have yet to read the manga/ novel (I forgot if it was a novel or manga or both. HAHA). 
    Maybe I will when the books are available again in Kinokuniya.
    I am regretting so much for not buying the books when they were there! ARGH!!!


    Tuesday, November 15, 2016

    Chihiro In The Making (Cont)


    Oh Mr Bean, it's been a long time.

    As promised, I am back to update on how I make my very first AFA costume!

    Recap: There are a total of 6 items to make for this outfit.

    1. Undergarment
    2. Inner Mompe
    3. Working Jacket
    4. Outer Mompe
    5. Sash
    6. Tasuki Cord

    Bold are the ones I will be touching on this post. The rest can be found at my previous post.

    Inner Mompe (1-1.5m of white fabric)

    There wasn't enough fabric to make a mompe. Hence, I made a pair of shorts with the remaining white fabric I had. *If you have enough fabric, do make a mompe. :)

    Refer to DIY pants on how to make the mompe/shorts.


    I totally forgot to take photos while making the shorts.
    Just follow the link I have provided above on how to make the mompe. If you're lack of fabric just like I was, you can shorten the length of the mompe.


    Working jacket (1-1.5m of pink fabric)


    1. Do a rough pattern on how you want your working jacket to be. Then cut the pattern on the pink fabric. (My working jacket pattern is as the image above. The folded area is from the shoulder to arm length. Therefore, the side seams are open.)

    2. Sew the sleeve leaving the side seam open.

    3. Hem wrist area and bottom.


    4. Hem the side seam individually. (Sides are not sew together. It will be an opening at the side seam.)

    5. Make a small triangle cut at the arm area.


    6. You can hem the rough edges. (Optional)

    Then you're done with the working jacket.


    Sash (0.5-1m of red fabric)

    1. Cut out a rectangular piece of red fabric measuring 40" by 7".
    2. Fold the fabric making the width be around 3.5".
    3. Sew the open area.
    4. Turn the tube inside out and sew the sides.


    Tasuki cord (1-2m of white fabric)

    1. Cut out a rectangular piece of white fabric measuring 2m by 4".
    2. Fold the fabric making the width be around 2".
    3. Sew the open area.
    4. Turn the tube inside out and sew the sides.


    Truly sorry for the lack of photos while doing this project. I am so caught up that taking photos wasn't my priority. Kept telling myself to take photos but sometimes I just forgot? I will try to upload photos of the final products as soon as possible!!! If you're curious, you can check my INSTA! Anyways, I can't wait for AFA to come so that I have photos to share with you. Hopefully there are plenty of Haikyuu stuffs for me to buy. :D Till then!!!

    XOXO,
    Mahirah

    Friday, May 6, 2016

    Part 2: Peplum top with bell sleeves

    I just checked that it's been over a month since I last updated!
    At least I am back! Oh and I can't wait to sew from one of the books! HEHE.

    This is my first time making a pattern without using any measurements from a shirt or myself.
    I was basically using my own imagination while doing the pattern. HAHA.

    Step 1: Making the pattern

    I just found out how useful french curve is when it comes to making pattern! Thanks to french curve my pattern turns out well!

     The base of the top was around 9". Using the base as a guideline, I make the armhole using the french curve.

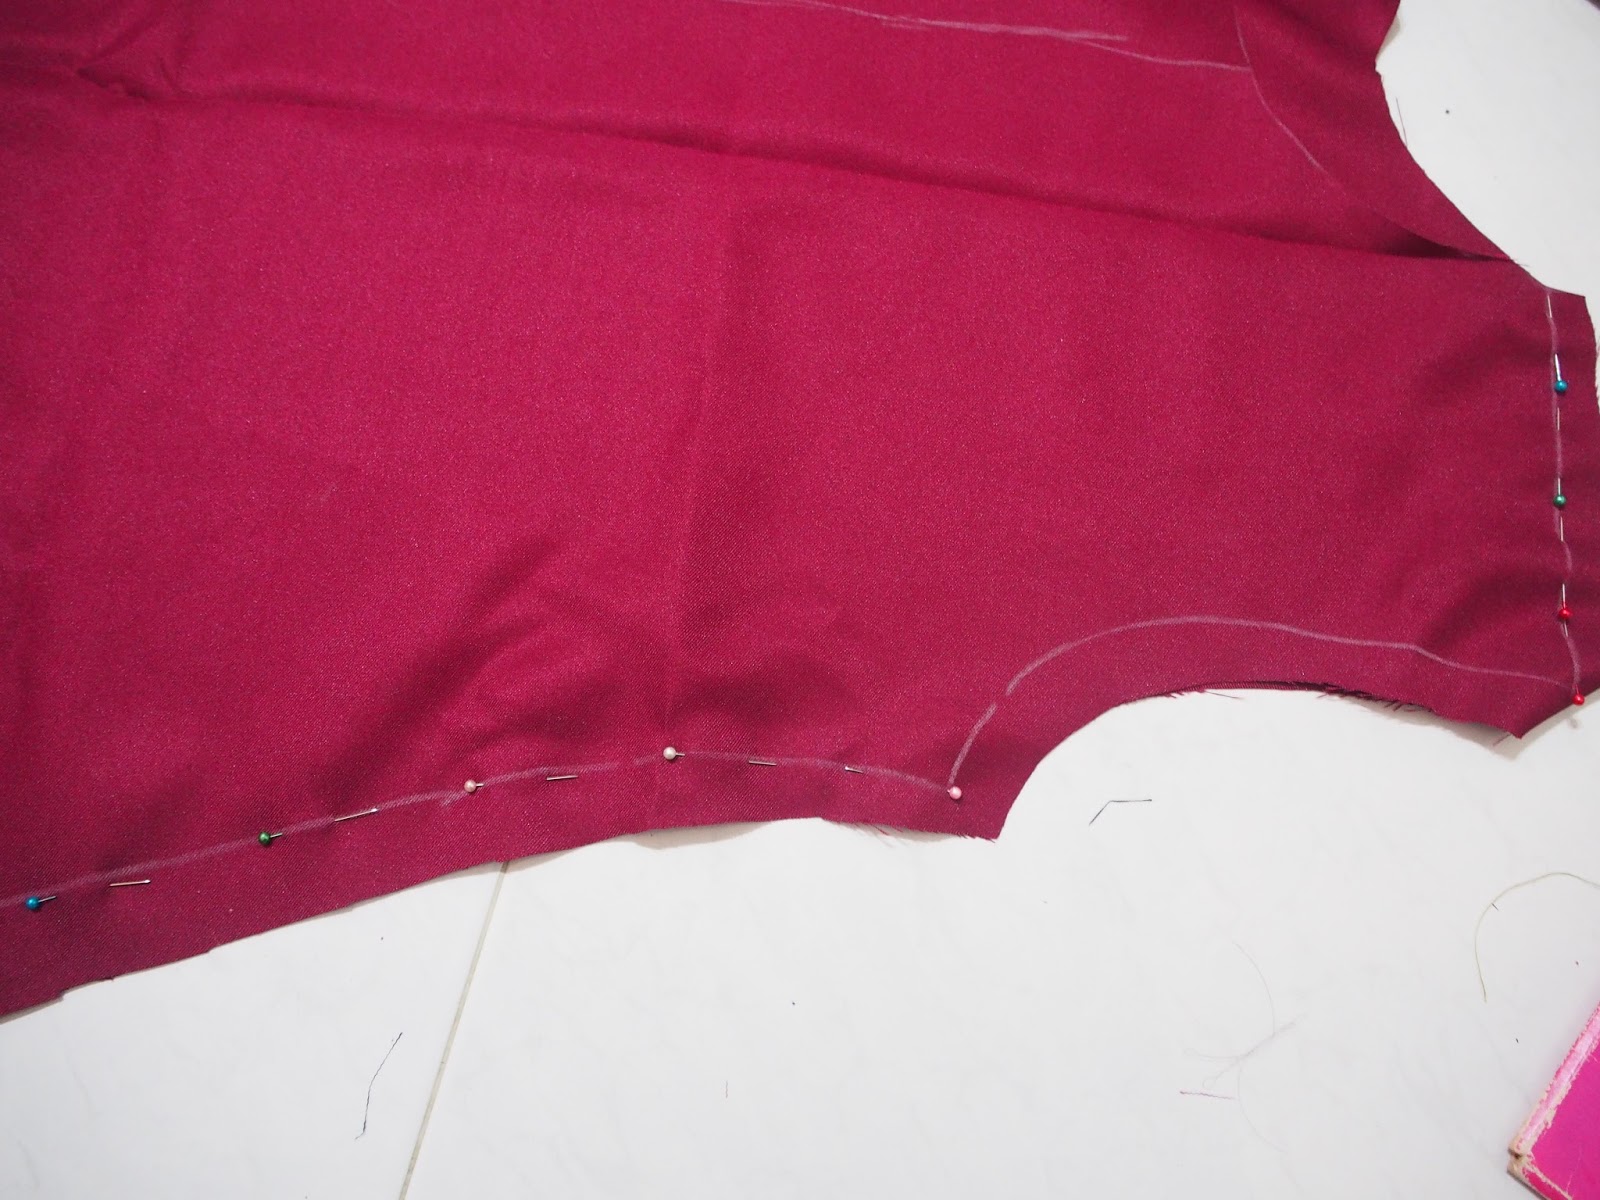
     As for the neckline, I drew two different curves to differentiate the front and back of the top.

    Tada~ The bodice pattern is done!

    As for the sleeve, instead of the normal straight end, made a curve.

    As for the width of the sleeve, I made it wider as the sleeve goes down.

    Step 2: Attaching the pieces together

    Before you start sewing, pin the various patterns to the fabric and cut accordingly.
    With the fabric cut out, you can start sewing.

    As usual, sew the shoulder area first. Afterwards, attach the sleeves to the armhole and sew the sleeves. Lastly, sew the side seams.

    Step 3: Cutting out the skater skirt

    Measure the waist of the top. Using the skater skirt measurement app, cut out the skater skirt. Since I am making a peplum top, the length of the skirt doesn't have to be very long. In my case, the length was around 4-5".  You can refer to my previous post (Circle Skirt) how to cut out a circle/skater skirt.

    This is a terrible photo. I took a photo without finish cutting out the skirt. Can you spot the mistake? HAHA.

    *If you want the peplum top to be slightly different than usual, add a few more inches to the waist measurement. This allows some room for few pleats which I managed to do so!

    Step 4: Assembling and final touches

    Attach the skirt to the top. Since I added a few inches, I did few pleats to the front of the top while leaving the back of the top as usual.

    Lastly, hem the raw edges of the sleeves, neckline and skirt.

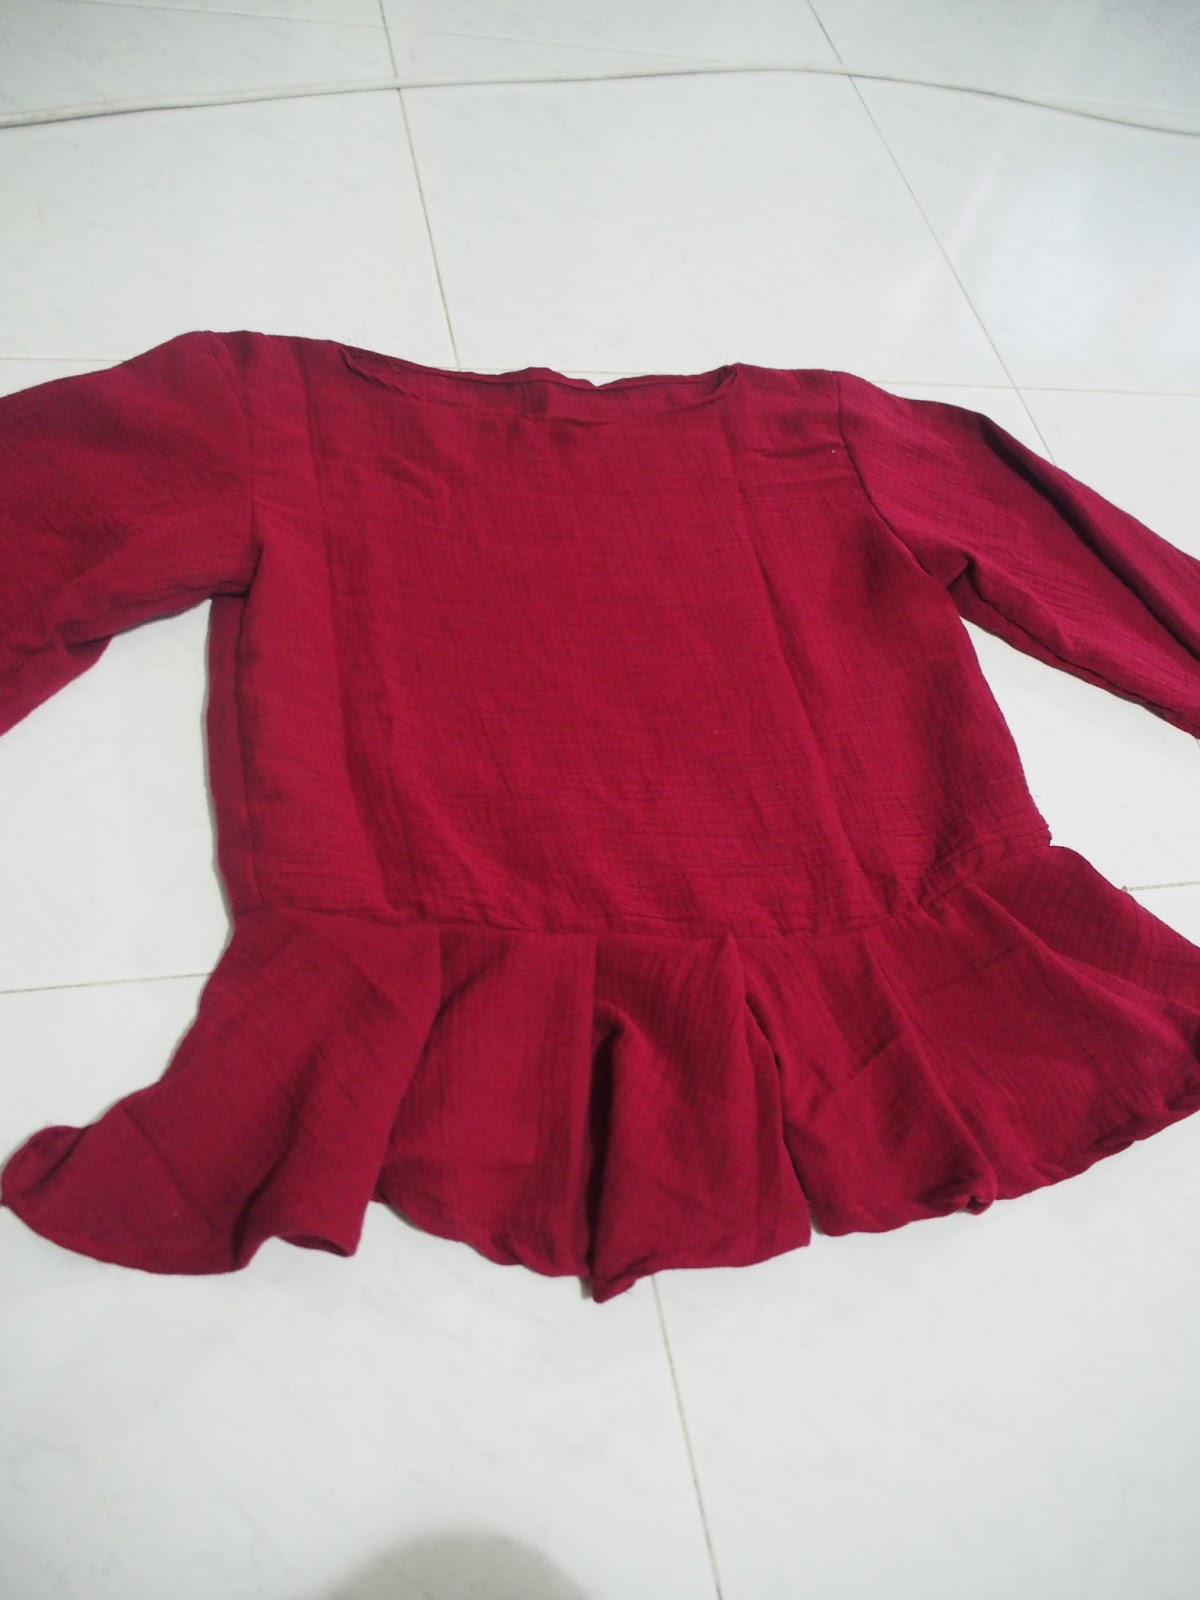
    So after eyeballing everything, how did the top turn out?

    I think it turned out alright. It would be even better if I had used a top for reference. Well, ironing will also help. HAHAHAHAHA! I can't wait to wear this top tomorrow! I shall upload some pictures of myself wearing this top! Since I can't sew, maybe I shall post pictures of myself wearing my own creations.

    Oh Why. Oh Why did I stop blogging when it's so much fun!!! I hope to be able to sew a simple project this coming Sunday before leaving for dinner to celebrate Mother's Day!

    Let me take this opportunity to wish A Happy Mother's Day to all the wonderful and lovely mothers all around the whole! :D
    Recommended anime: Another

    Tuesday, April 5, 2016

    I tried but still not good enough


     Hi!
     You're so cute.

    I know it's been forever but I've finally finished sewing a short-sleeve button down shirt! I had to start from scratch because when I started on this project there wasn't any proper button down shirt or dress shirt for me to refer.

    I took my usual top pattern and copied on another piece of paper. Then, I made some moderation at the collar area, sleeve area and added about 3cm for the button placket for the front side. Note that there will not be any folded area, hence you have to cut 2 pieces for the front.


     Afterwards, I also made some moderation at the sleeve area for the back side. As for the back, there is a folded area. Hence, only one cut is needed.


    Now, fold the 3cm button placket and sew down the edges.


    Connect the front and back pieces together by sewing the shoulders together.


    On to the collar, measure the length of the neckline.


    Hence using a top with a collar, I roughly sketch out the same pattern while making changes according to the length of the measured neckline. I wanted the collar to be longer hence I added about 10cm.


    With the pattern, I separated the collar and the collar stand.


    Both the collar and collar stand will have two pieces.


    Sew both the collar pieces together with right sides facing each other (follow the crosses).


    Turn the collar inside out. Firstly, place one of the collar stands with the right side facing upwards. Secondly, place the collar above the collar stand. Lastly, place the other collar stand on the collar with the wrong side facing upwards.


    Sew both the collar stand and collar together (follow the crosses).


    Turn the collar inside out making the collar stand at the bottom.

    Pin the raw edges of the collar stand to the neckline and sew it down.

    *I added a small pleated at the back of the shirt

    When you're done with the collar, attach the sleeves by sew along the sleeve seams and side seams.


    You can hem the ends of the sleeve and the raw edges of the top.


    Congrats! Now you're left with the buttons! Sew the button holes on one side of the plackets and buttons on the other. And YOU'RE DONEEEEEE!!!!!! HEHEHEHE.


    Since I made the collar slightly longer, it looks different from normal dress shirt. HEHE. The button down shirt looks cute with the contrasting buttons and longer collar. YAY! I would have made the sleeve longer if there was more fabric. In case you're wondering why the fabric looks familiar, it's the same fabric I used to sew the boxy pleated skirt! HAHA. I am glad that I've used up the remaining fabric which means I have more space for more fabric. MUAHAHAHA.

    Also I bought new fabric! My next project will be a smock dress! I hope it will turn out well! Wish me luck! :D


    Recommended Anime: Haikyuu

    I did not know that I will get hooked on a sports themed anime. Haikyuu~ You have messed up my life!!!!


    Please visit my youtube channel, mahirah html :)

    Hi, I have no idea who is reading this. If you love to sew, DIY and see random unboxing, it will be great if you can subscribe to my chan...

    Labels