Hi!

You're so cute.
I know it's been forever but I've finally finished sewing a short-sleeve button down shirt! I had to start from scratch because when I started on this project there wasn't any proper button down shirt or dress shirt for me to refer.
I took my usual top pattern and copied on another piece of paper. Then, I made some moderation at the collar area, sleeve area and added about 3cm for the button placket for the front side. Note that there will not be any folded area, hence you have to cut 2 pieces for the front.

Afterwards, I also made some moderation at the sleeve area for the back side. As for the back, there is a folded area. Hence, only one cut is needed.

Now, fold the 3cm button placket and sew down the edges.

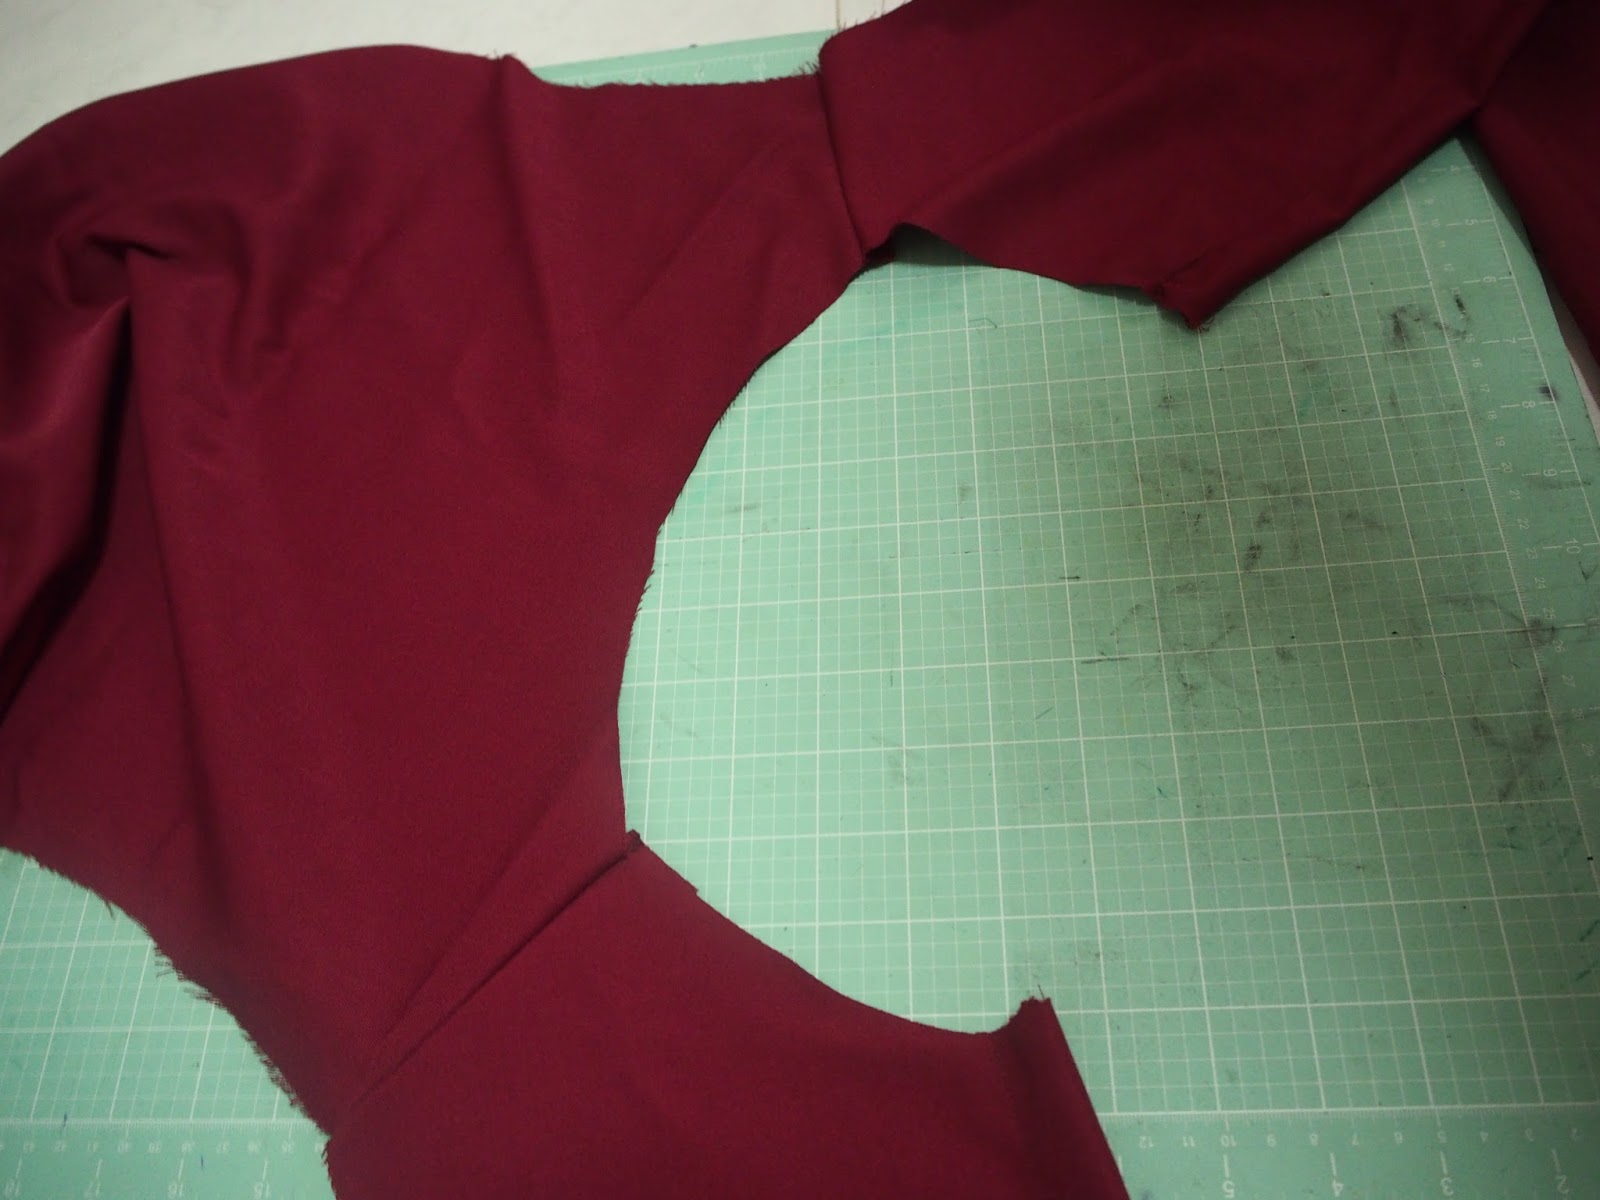
Connect the front and back pieces together by sewing the shoulders together.

On to the collar, measure the length of the neckline.
Hence using a top with a collar, I roughly sketch out the same pattern while making changes according to the length of the measured neckline. I wanted the collar to be longer hence I added about 10cm.

With the pattern, I separated the collar and the collar stand.


Both the collar and collar stand will have two pieces.


Sew both the collar pieces together with right sides facing each other (follow the crosses).

Turn the collar inside out. Firstly, place one of the collar stands with the right side facing upwards. Secondly, place the collar above the collar stand. Lastly, place the other collar stand on the collar with the wrong side facing upwards.


Sew both the collar stand and collar together (follow the crosses).

Turn the collar inside out making the collar stand at the bottom.
Pin the raw edges of the collar stand to the neckline and sew it down.


*I added a small pleated at the back of the shirt
When you're done with the collar, attach the sleeves by sew along the sleeve seams and side seams.

You can hem the ends of the sleeve and the raw edges of the top.


Congrats! Now you're left with the buttons! Sew the button holes on one side of the plackets and buttons on the other. And YOU'RE DONEEEEEE!!!!!! HEHEHEHE.


Since I made the collar slightly longer, it looks different from normal dress shirt. HEHE. The button down shirt looks cute with the contrasting buttons and longer collar. YAY! I would have made the sleeve longer if there was more fabric. In case you're wondering why the fabric looks familiar, it's the same fabric I used to sew the boxy pleated skirt! HAHA. I am glad that I've used up the remaining fabric which means I have more space for more fabric. MUAHAHAHA.
Also I bought new fabric! My next project will be a smock dress! I hope it will turn out well! Wish me luck! :D
I did not know that I will get hooked on a sports themed anime. Haikyuu~ You have messed up my life!!!!
