I've finally made some changes to the cardigan!

The stick on pandas are super cute!!!
Last week, I finished sewing a dress following the 'feminine wardrobe' book. I was way too engrossed that I forgot to take pictures while working on it! I only managed to take a few. HAHA.
So, I had to trace out the patterns and it was a super time-consuming process. LOL.After having my patterns ready, I cut out the fabric. Then, I followed the instructions written on the book. The instructions given were easy to understand and follow. Hence, this dress wasn't super difficult to make.


I have yet to hem the bottom and make some adjustments to the side seam. I am absolutely loving the sleeves! I think I'm going to incorporate those sleeves in my upcoming project! HEHE.
* This dress is made for my sister. Hence, the size is slightly larger than my usuals.
Since I have leftover knit fabric, I decided to make a halter top and I sewn it this morning. YAY!
DIY: Halter Top
Materials:
- Less than 1m of knit fabric
- Thread (Similar colour to your fabric)
- Sewing machine
- Overlock machine (Optional, Will be great if you have one)
- A pair of scissors
- Chalk/ Marker
I referred to few pictures from google search to create my own pattern. I noticed from the pictures that halter top has a huge armhole and small front bodice near the neckline. Hence, I made a larger armhole than usual and a smaller curve near neckline.

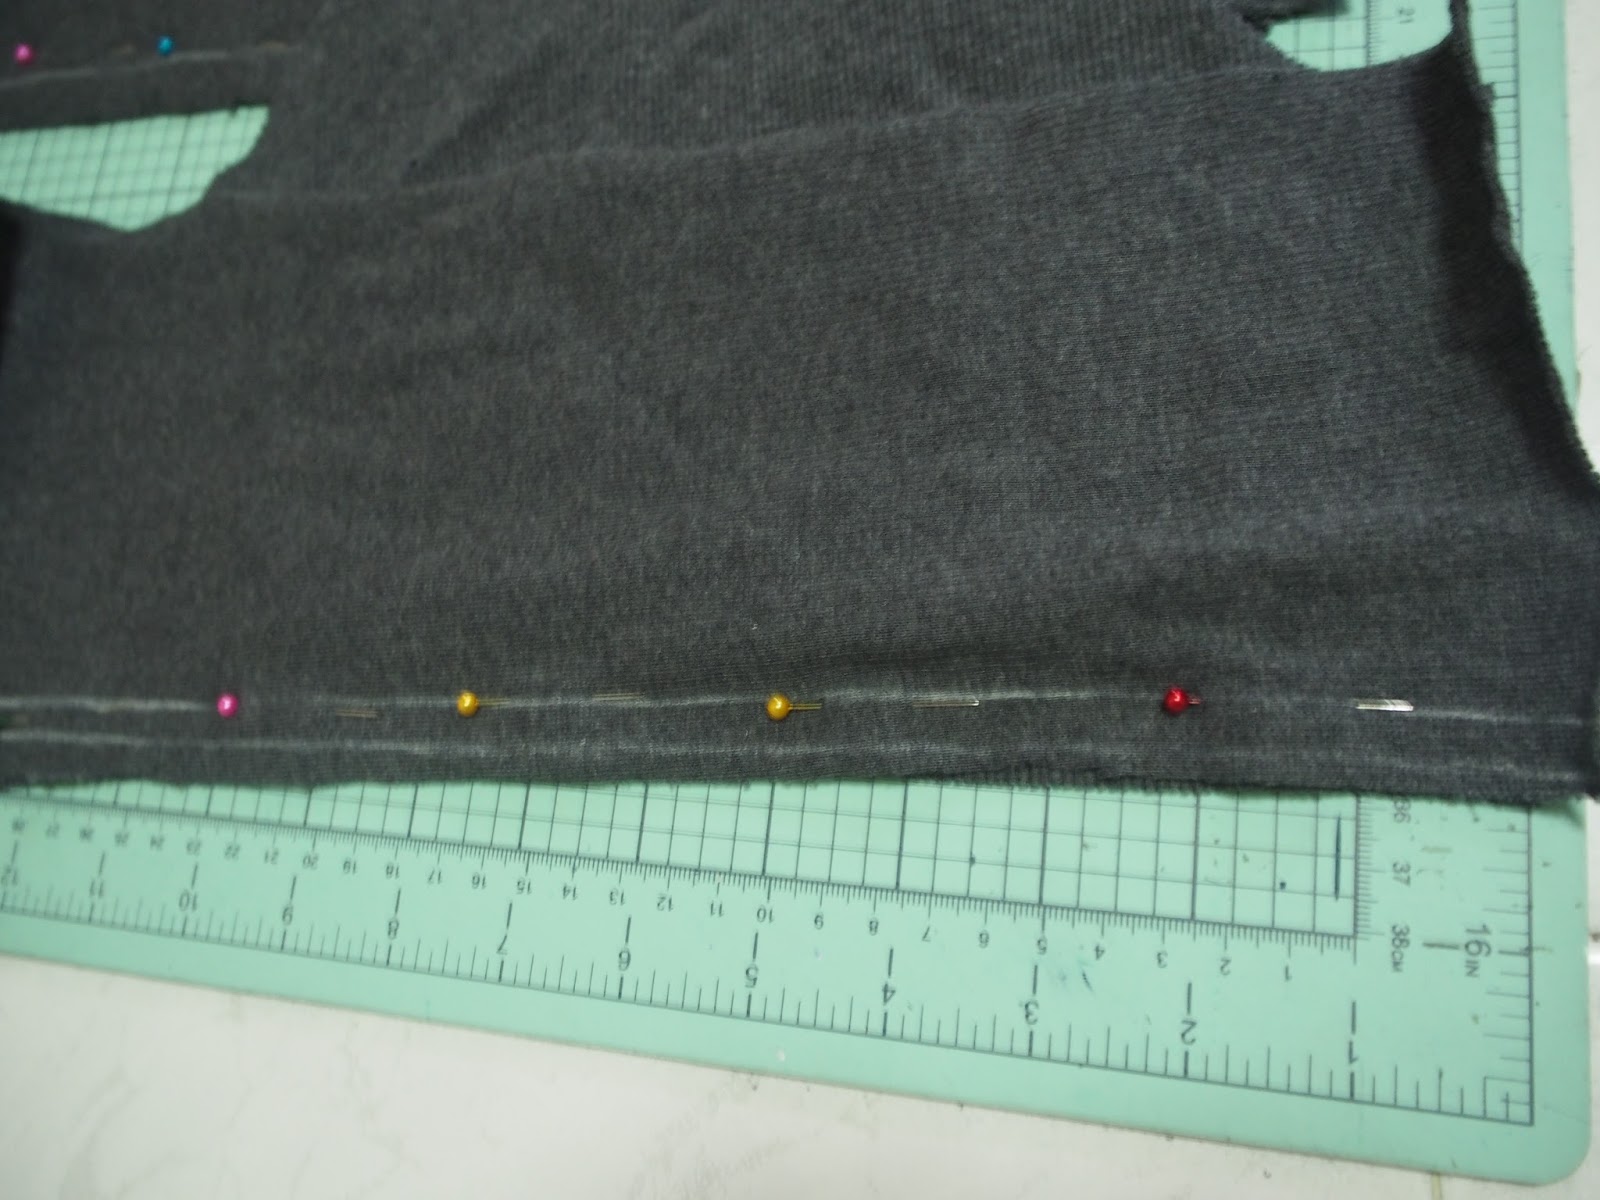
Since I did not want it to be a crop top, I decided to add a 15 by 5" at the bottom of each bodice.

Then I pin the rectangular piece to each bodice to make the bodice longer than a normal crop top.

Using a chalk/marker, draw a line to cut out the excess fabric.


Pin the front and back bodice and sew only the side seams (leaving the armhole and neckline)

Cut out four pieces of 15 by 4" fabric. Connect two pieces together to form a longer piece.

Pin one of the raw edges from the longer piece to both of the armholes.


Connect the other raw edge to the other side which will create a bias tape along the armhole.


Since I want a nice stitching, I pin the right side of the armhole.

Next, cut out 2 rectangular pieces of 11 by 4" and sew both pieces together. This longer piece will be used for the neckline.

Next, I marked out 3" from both side seams of the rectangular piece. The 3" acts as a guideline where the shoulder will begin. To create the neckline, use the same method as the bias tape for the armhole.

Lastly, hem the bottom of the top.

So how did my very own version of halter top end up?


Since I've bought some cute stick-on embroideries, I decided to add one to the top.

Yup, I chose Garfield and now my top doesn't look cheap. LOL.

So with 2m of knit fabric, I created cardigan and halter top! YAY!

It is currently fasting month and last few weeks, I repaid my fasting. Therefore, I get tired very easily and I won't have much time to update my blog. Let me take an opportunity to say my thanks to the people who read my blog and find my blog useful. I hope you are enjoying and inspired to sew. Till next time, take care~
XOXO, Mahirah
Recommended Korean Drama: Lucky Romance
The storyline isn't very unique but the lead actor's character is very refreshing maybe
because I am seeing my favourite rising star acting. HAHA.
Anyways, check the drama out if you want something light.
